FlexCRM #
Getting Started with FlexCRM Core #
This guide takes you through the full setup of FlexCRM Core, from installation via AppSource to assigning licenses, setting up teams, and configuring in-app settings.
By the end, you’ll be ready to manage contacts and deals with confidence inside a secure, enterprise-level application.
Our goal is to keep things simple, clear, and step-by-step, so you can get going quickly.
Before You Begin #
To use FlexCRM Core, you’ll need the right licenses in place:
- FlexCRM Core License – assigned during setup
- Power Apps License (choose the option that works best for you):
👉 If you need help with licensing, get in touch with us and our team will support you.
Setup Steps #
AppSource #
Start by installing the app from AppSource:
- Open the FlexCRM Core AppSource page.
- Make sure you’re logged in to the tenant where you want to install the app (or log out entirely if you want to choose during the process).
- Click Buy Now.
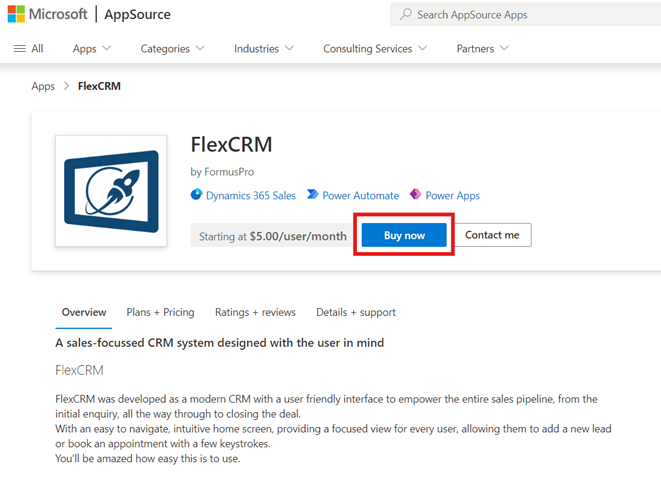
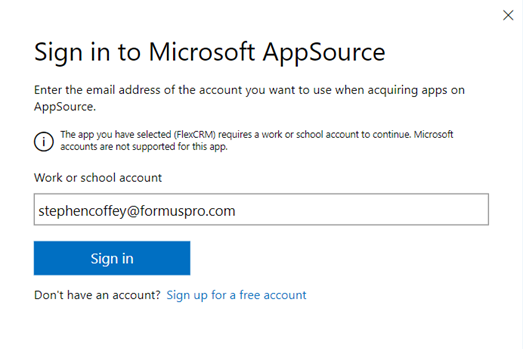
- If prompted, sign in with your organisational account.
- Select the FlexCRM Core plan and click Next.

- Set up billing:
- Recurring billing – choose whether your subscription should auto-renew.
- Number of users – enter how many licenses you need.

- Add payment details:
- Sold-to address – this is linked to your billing country/region.
- Payment method – AppSource accepts credit cards supported in your region.
- Tax ID – only required if your local laws ask for it.
- If your account is approved for invoice payments, you’ll see “Invoice” in your billing options.
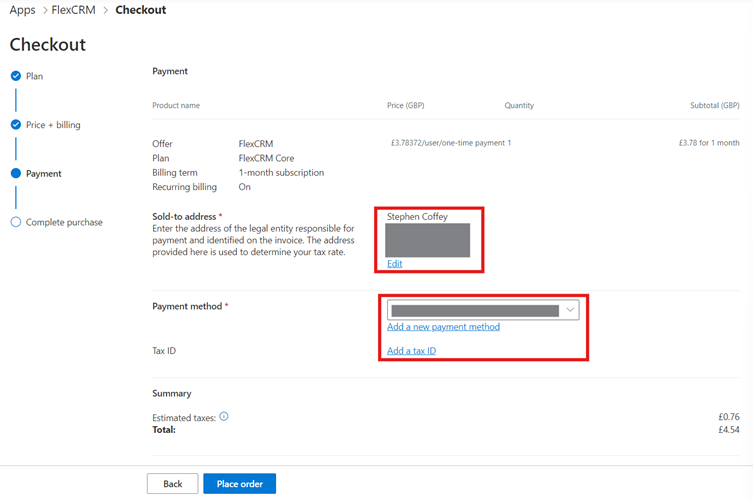
- Review and click Place Order.
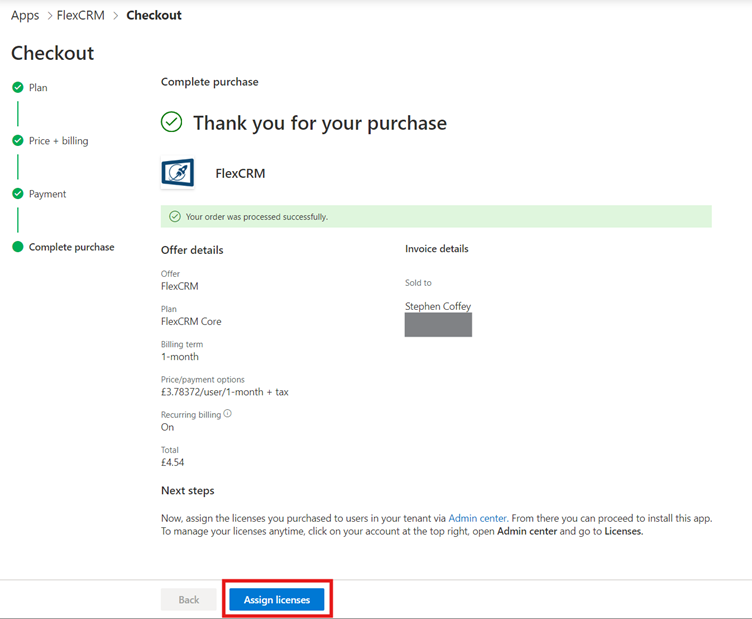
Your order will now be processed.
Assigning FlexCRM Licenses #
Following the previous steps, once your order is confirmed:
- From the order summary, click Assign Licenses.
- This will take you to the Microsoft 365 Admin Centre.
- You’ll see all available licenses.
- A license will automatically be assigned to the purchasing account.
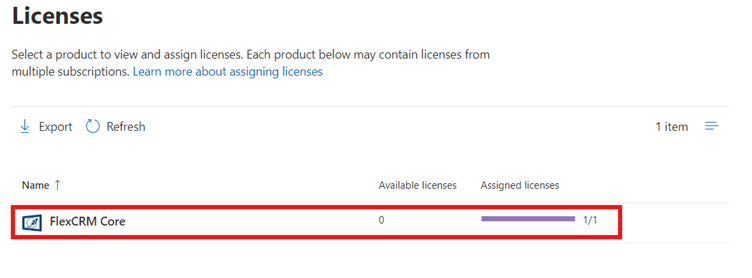
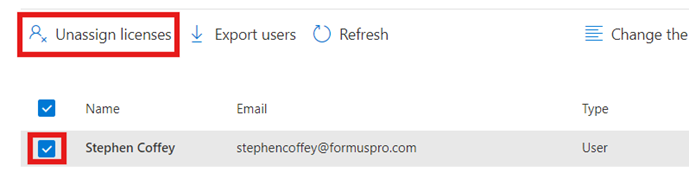
To remove a license:
Select the application.
Tick the user you want to unassign.
Click Unassign licenses.
To assign a license to a user:
- Click Assign Licenses.
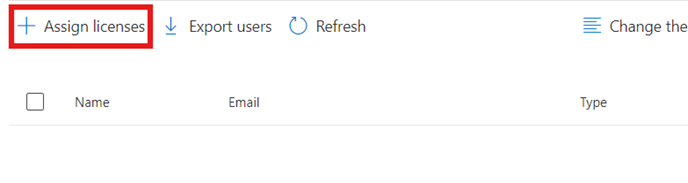
- Search and select the user.
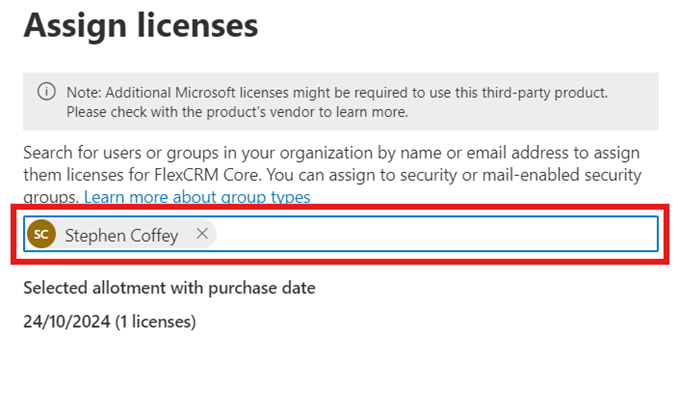
- Click Assign.
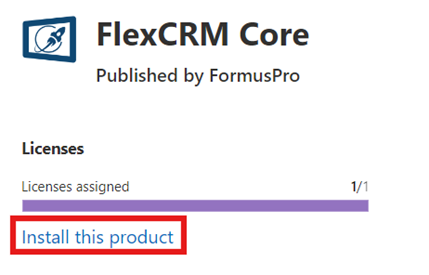
Installing the App #
Now you’re ready to install FlexCRM Core:
- From the Licenses page, click Install this product.
- Select the environment where the app should be installed.
- Review the links and tick the boxes if you’re happy.
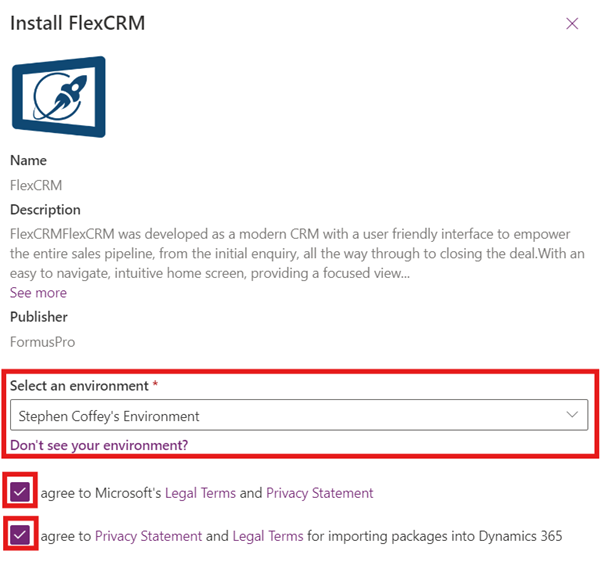
- Click Install to start the process.
Assigning Security Roles #
After installation, users need to be given the right security roles.
- If you manage access through security groups, add the user to the group in Microsoft 365 Admin Center.
- If access is not restricted, users will automatically be added to the environment. (You can check and add any missing users manually.)
Creating Users #
- Go to Power Platform Admin Center.
- Click Environments and choose the one where FlexCRM Core was installed.
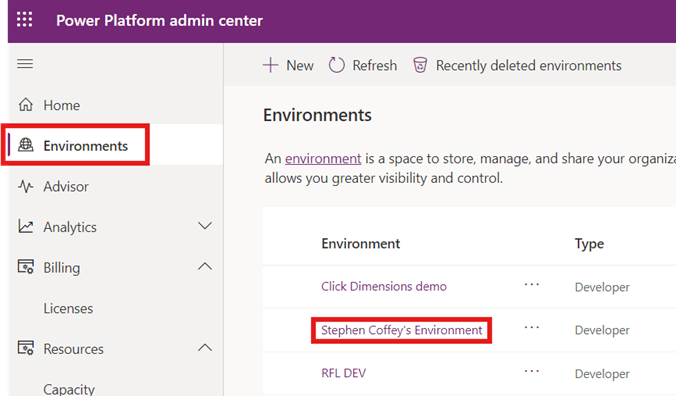
- Select See all under Users.
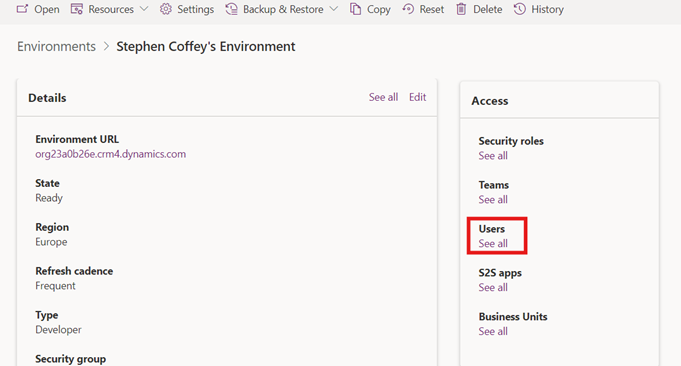
- If a user is missing, click Add user.
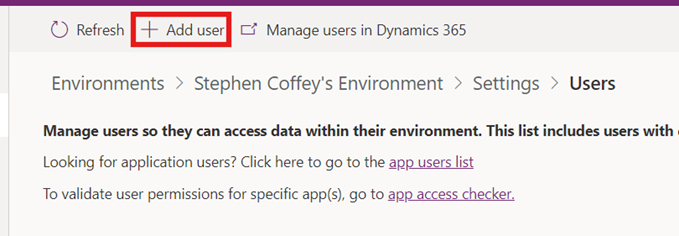
- Enter their name or email and click Add.
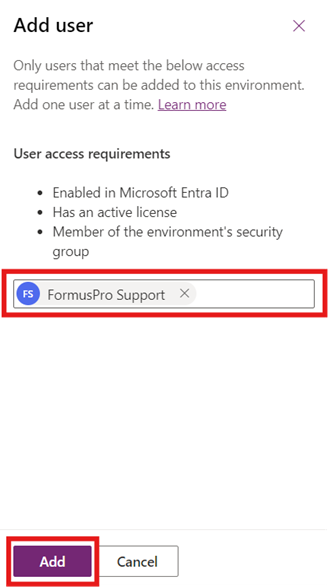
⚠️ You’ll see a popup asking to assign a security role. Click Cancel here—roles will be managed via Teams instead.
Creating and Managing Teams #
Teams let you group users with different levels of access. We recommend creating at least:
- A User level team
- A Manager level team
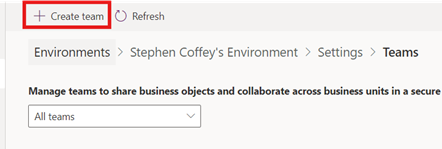
To create a team:
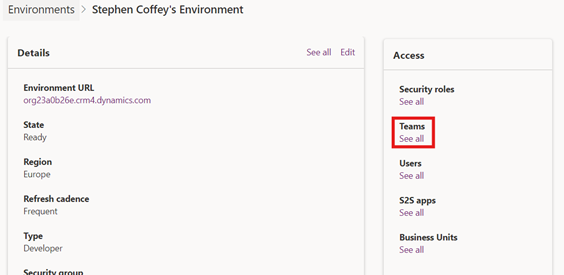
- Go to the environment screen and click See All under Teams.
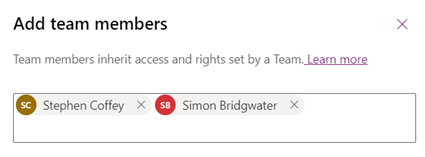
- Create a new team and add:
- Team name
- Description
- Business unit – use the default if no other units are set up.
- Administrator – the user who will manage the team.
- Team type – select Owner.

- Add members to the team.
- Assign a security role:
- FlexCRM Core Salesperson – view/edit accounts, contacts, and opportunities where they are the owner.
- FlexCRM Core Salesperson (View/Edit All) – full access to all accounts, contacts, and opportunities.
- FlexCRM Core Sales Manager – full access plus permissions to manage custom settings.

Repeat these steps for each team you need.
Accessing the App #
Once users and teams are set up:
- Go back to the Environment settings page.
- Click the Environment URL.
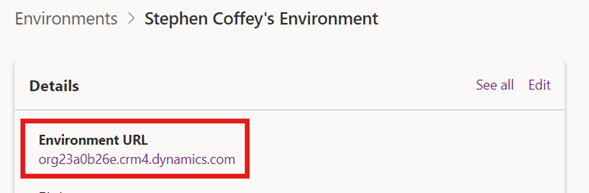
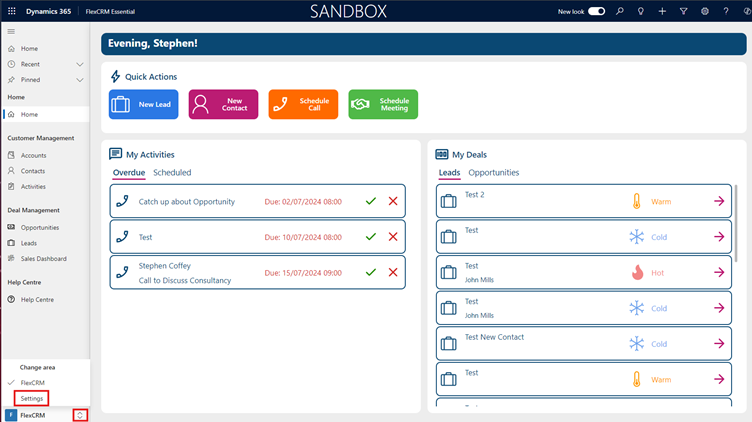
- You’ll see a list of available apps.
- If everything is set up correctly, FlexCRM Core will appear.

Click the app to open it.
In-App Settings #
Some settings can be adjusted inside the app by users with the Sales Manager role.
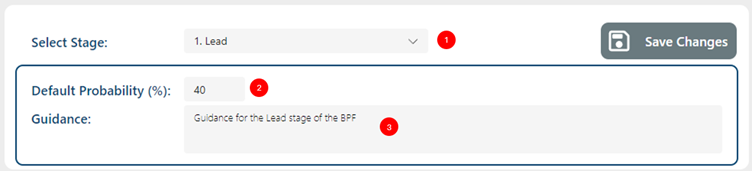
Sales Process
- Choose the stage you want to configure.
- Adjust the default probability if needed (this is the probability value assigned when a lead/opportunity moves stage).
- Update the guidance text shown on the Lead/Opportunity form.
- Click Save Changes to apply.
Close Reasons #
By default, FlexCRM Core includes standard reasons for winning or losing opportunities. Sales Managers can customise these.
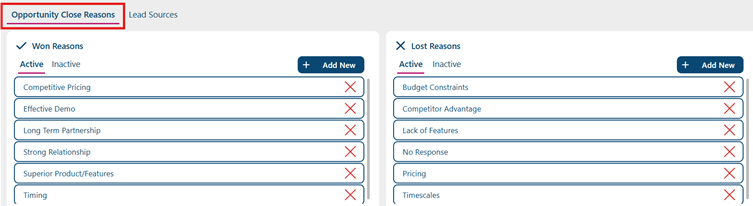
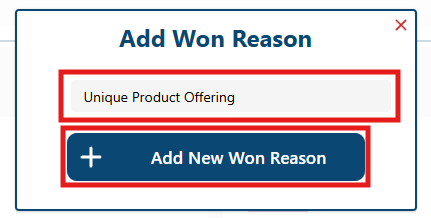
Add a “Won” reason:
- Select Opportunity Close Reasons.
- Click Add New.

- Enter the reason text.
- Click Add New Won Reason.
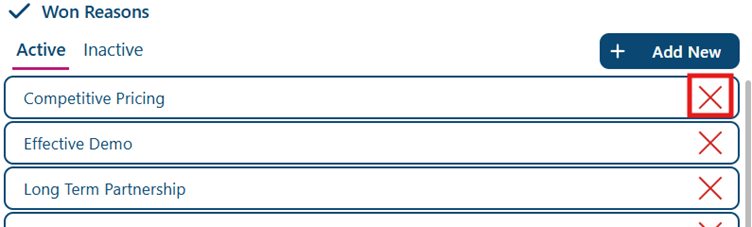
Make a “Won” reason inactive:
- Click the cross next to the reason.
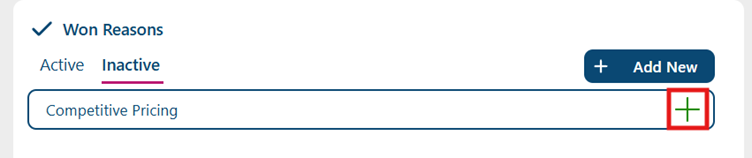
Reactivate a “Won” reason:
- Go to Inactive.

- Click the plus sign next to the reason.
Add a “Lost” reason:
- Select Opportunity Close Reasons.
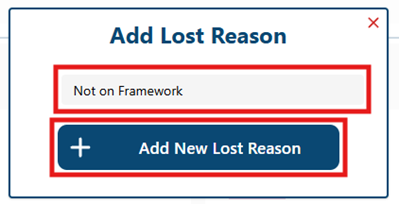
- Click Add New.
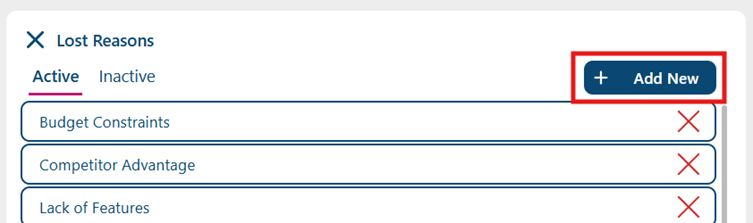
- Enter the reason text.
- Click Add New Lost Reason.
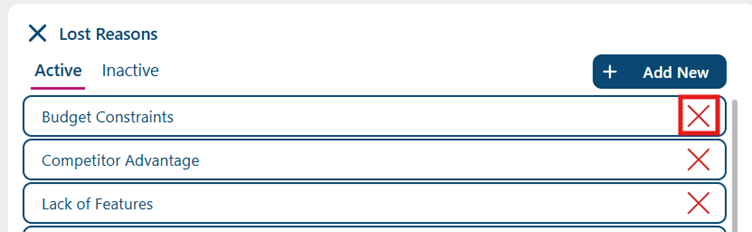
Make a “Lost” reason inactive:
- Click the cross next to it.
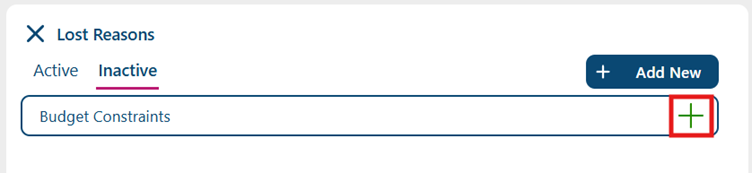
Reactivate a “Lost” reason:
- Go to Inactive.
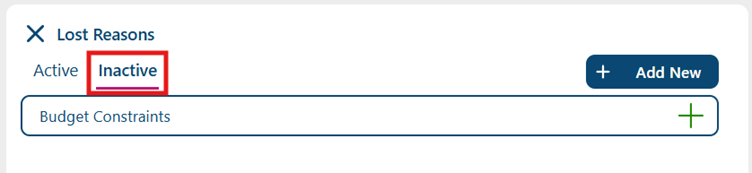
- Click the plus sign next to the reason.
Lead Sources #
FlexCRM Core includes standard lead sources, but you can add or manage these as needed.

Add a lead source:
- Select Lead Sources.
- Click Add New.

- Enter the source name.
- Click Add New Lead Source.

Make a lead source inactive:
- Click the cross next to it.

Reactivate a lead source:
- Go to Inactive.
- Click the plus sign next to it.

You’re All Set! #
You’ve now installed FlexCRM Core, assigned users and teams, and customised key settings. Your organisation is ready to start tracking contacts, opportunities, and deals with ease.
👉 If you run into any issues or need further guidance, our team is here to help—just get in touch with us.